Tuesday, May 19, 2015

Sudoku Game Development in Android

Greetings of the Day!!!

When I was learning Android, I thought of developing a game. The easiest was a Sudoku game. And when I was reading an android book I saw a basic example of the game and thought of using it and building on top of it. So I started it and completed it for a single game. But I did not share it with anybody. When I was cleaning up the things today I saw that game and thought of sharing it.

But instead of single game, I thought I will add the  levels as Easy, Medium and Hard. And in each level I added some games and when we select to play any level, it should randomly pick the game and present it to the user to play. And also I made it to remember the game even if we leave it in the mid way. So that we can continue to play the same game later. There is a "Settings" option where you can set the game to show the hints and to play the music. It's done as the shared preferences so that it remembers the settings even if the application is closed. It opens up with the previous settings.

Below are some screen shots of the application. You can download the game from google play at:

Sudoku Game


Tuesday, May 12, 2015

How to change the color of the tabs of the tabhost in android application

In Android, you can change the colour of the tab. By default the colour of the tab host is grey.  I want to change the colour of the unselected tab as #a45d0a i.e  Dark orange [Brown tone] and the selected tabs as #A42C0A i.e Dark red.

Here first I initialize the tabs and each tab is associated with a list view.


final TabHost tabs = (TabHost)popupView.findViewById(R.id.TabHost01);
             
tabs.setup();
             tabs.getTabWidget().setShowDividers(TabWidget.SHOW_DIVIDER_MIDDLE);
             tabs.getTabWidget().setDividerDrawable(R.drawable.custom_tab_indicator_divider);
              // create tab 1
              TabHost.TabSpec tab1 = tabs.newTabSpec("tab1");
              tab1.setContent(R.id.listView01);

tab1.setIndicator(getTabIndicator(tabs.getContext(), "Dialed", getResources().getDrawable(R.color.white)));
tabs.addTab(tab1);
              // create tab 2
              TabHost.TabSpec tab2 = tabs.newTabSpec("tab2");
              tab2.setContent(R.id.listView02);
                          tab2.setIndicator(getTabIndicator(tabs.getContext(), "Missed", getResources().getDrawable(R.color.white)));
              tabs.addTab(tab2);
              // create tab 3
              TabHost.TabSpec tab3 = tabs.newTabSpec("tab3");
              tab3.setContent(R.id.listView03);
                          tab3.setIndicator(getTabIndicator(tabs.getContext(), "Received", getResources().getDrawable(R.color.white)));
              tabs.addTab(tab3);

Before dealing with the onTabChanged() event, we need to set the intial colors for the tabs with the below code:

for(int i=0;i< tabs.getTabWidget().getChildCount();i++)
{
if (i == 0) tabs.getTabWidget().getChildAt(i).setBackgroundColor(Color.parseColor("#A42C0A "));
else tabs.getTabWidget().getChildAt(i).setBackgroundColor(Color.parseColor(“#A45D0A "));
}   

Now we need to deal with the on tab changed event. 

tabs.setOnTabChangedListener(new OnTabChangeListener(){
@Override
public void onTabChanged(String tabId) {
    // TODO Auto-generated method stub
     for(int i=0;i< tabs.getTabWidget().getChildCount();i++)
        {
           tabs.getTabWidget().getChildAt(i).setBackgroundColor(Color.parsecolor("#A45D0A ")); //unselected
        }
        tabs.getTabWidget().getChildAt(tabHost.getCurrentTab()).setBackgroundColor(Color.parseColor("#A42C0A ")); // selected
}
});

Now you need to populate data for the list view which are associated with the respective tabs. That’s it. Happy Coding..

Saturday, May 9, 2015

New Manmatha Naam Samvastara SRSM Panchanga available to download

Greetings of the day!!!

First of all, sorry for the delay in updating the Panchanga app with Manmatha naam data. And Thanks to all those who reminded me about this. I got more than 100 emails to update the Panchanga for Manmatha naam samvastara.
But the thing was, earlier I use to get the soft copy of the Panchanga at least two months earlier than Ugadi from SRSMutt. But this time they did not send it due to some technical issues. So I manually need to convert the data.

Now the new Manmatha naam samvastar Panchanga is available to download from the google store. I have updated the data for Manmatha naam samvastara.

As of now only English version is available. Working on the Kannada version,  it will be available soon.

But now it's available in English.

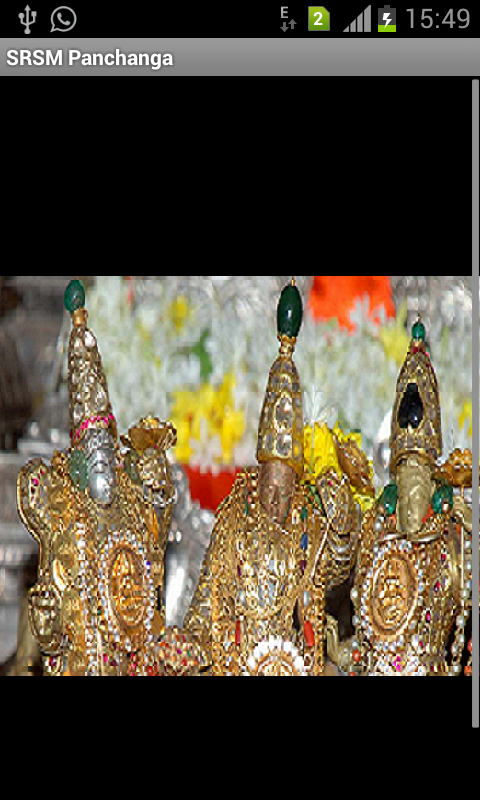
You can download it from google play @:  SRSM Panchanga
Some of the screen shots are as shown below:


Friday, May 8, 2015

Adding custom title bar to the theme in android

I was developing a quiz app for a customer. And the requirement was to have a custom header/title for the application. That’s also horizontally center-aligned to the display. 

In Android, you can set your custom title to the theme.  It’s pretty simple. I will take the quiz example itself to demonstrate this. You just create an Android project called a "Quiz". Now for this project, for each screen, we want to create the title as “M-Quiz”. 
Here I am not going to discuss the code related to the quiz But we are going to discuss about how to add the custom title bar for this application.

First, you need to add the below code to the styles.xml in the res/values folder. If this file is not there, you can create one.


Now we need to add the colors we are going to use in our application. Create a colors.xml file in the res/values folder. Add colors, that are needed for the application.

The colors.xml file contains the following code:


Add themes.xml file in the res/values folder. 
themes.xml file contains the following code:  


The created style should be added to the theme file. 
After creating these files open the android manifest file and apply the theme to the whole application or activity.

manifest file code :


Create a layout for the custom title bar. The layout can contain any android controls. You can add even the logo of the application, any images, or any controls as well. In the below layout code, I am just adding the text. No other controls and no images. If you want you can add them. I created a layout header.xml with the below code in it:


Now at last we need to add the following code to the create() method of the activity.


Now you can run the application and check. You can see the customized title bar on top as below :


That’s it. Happy Coding...

If you forget any of the steps above, you may get the below force closed. You can see this error in the log:


Caused by: android.uti l.AndroidRuntimeException: You cannot combine custom titles with other title features
 
To fix this issue, you need to add the below line in themes.xml
name="android:windowNoTitle">true


or in the AndroidManifest.xml, you need to remove the below code for that particular activity


android:theme="@android:style/Theme.Black.NoTitleBar"


And you need to add the code in mainactivity.java or wherever you want the custom window title to be displayed: